Dinghy Chaps, Part 2

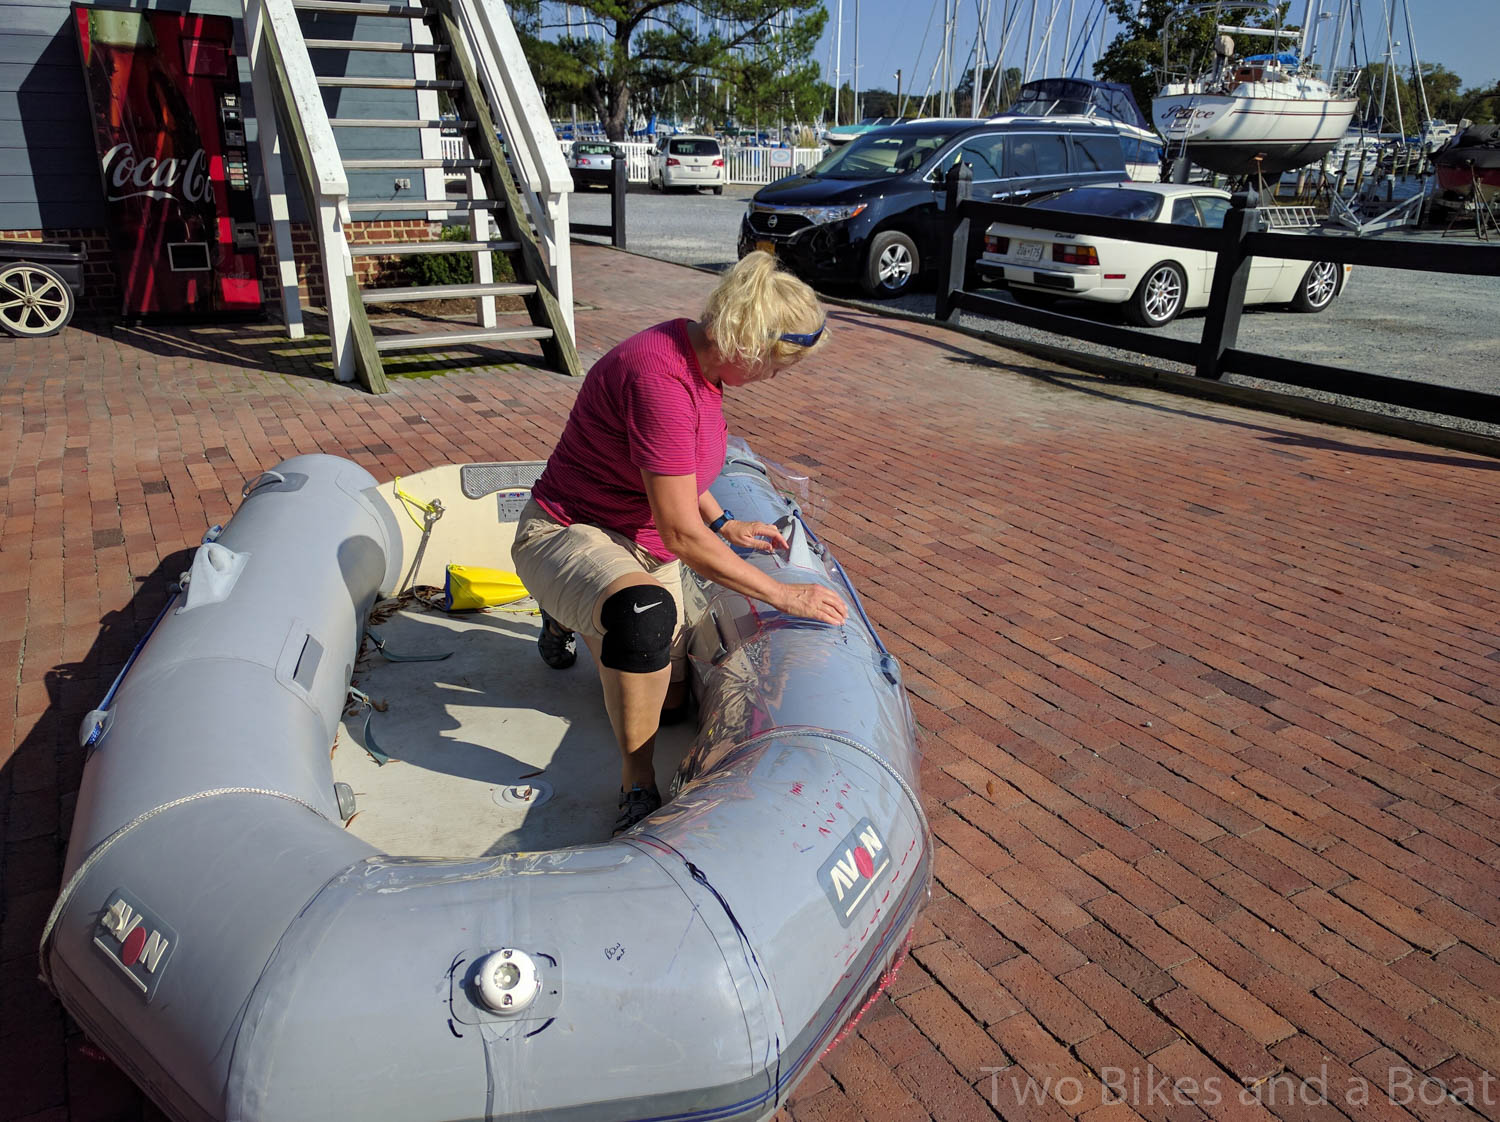
Last I reported, back in October, I had the dinghy chaps about three quarters done when it was time to set sail for the sunny south. We arrived in the Caribbean six week ago, and have taken time to relax and acclimatize, but I finally got back to my dinghy chaps project last week. It’s a lot more challenging working on board, with the dinghy in question needed in the water at all times as our primary mode of transportation to shore. And I find I can only work about 3 or 4 hours a day in this heat. But here is how we managed it…
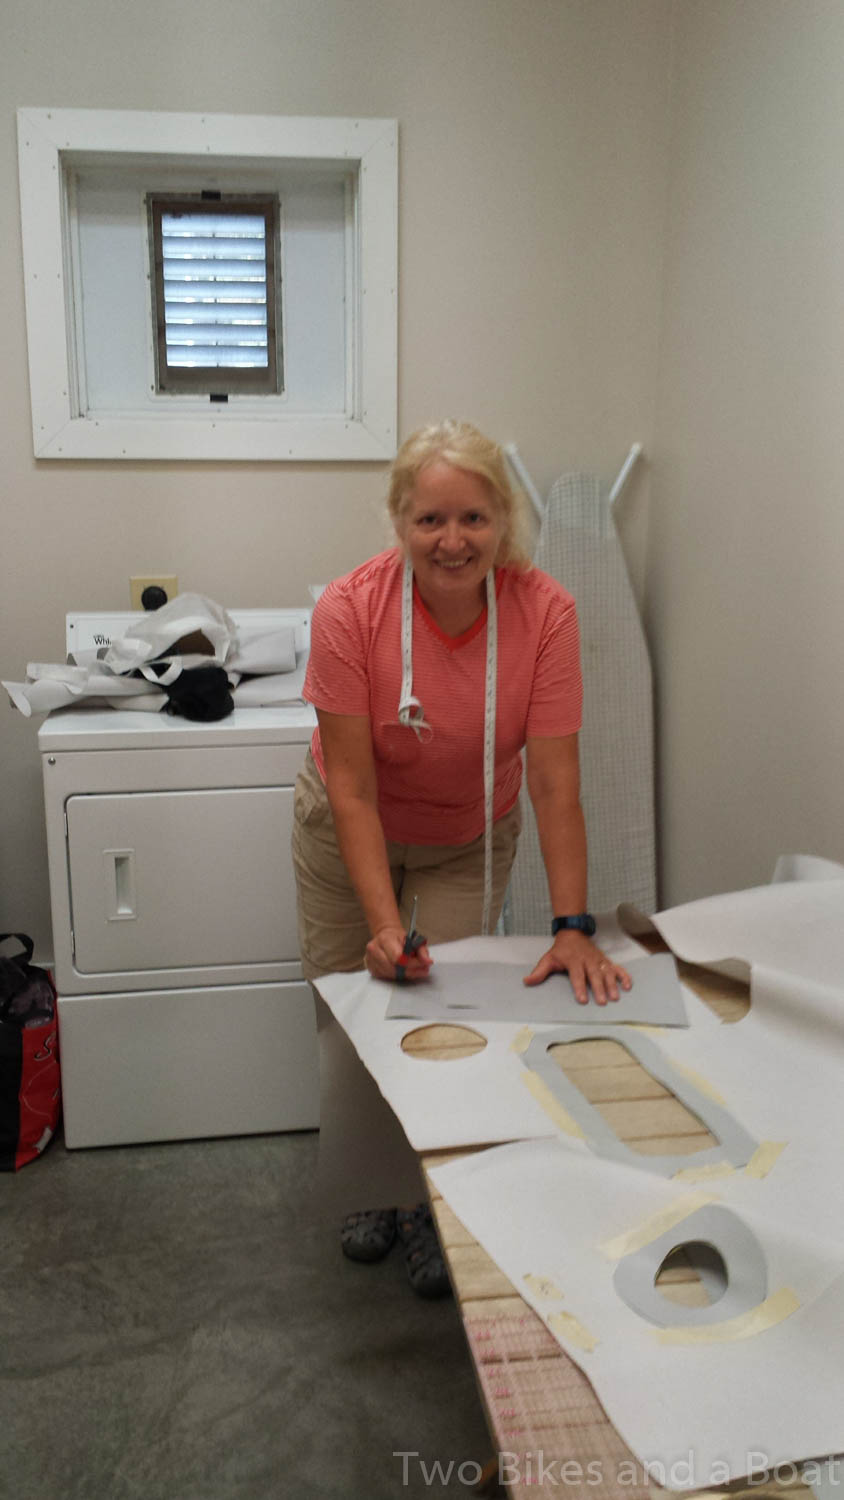
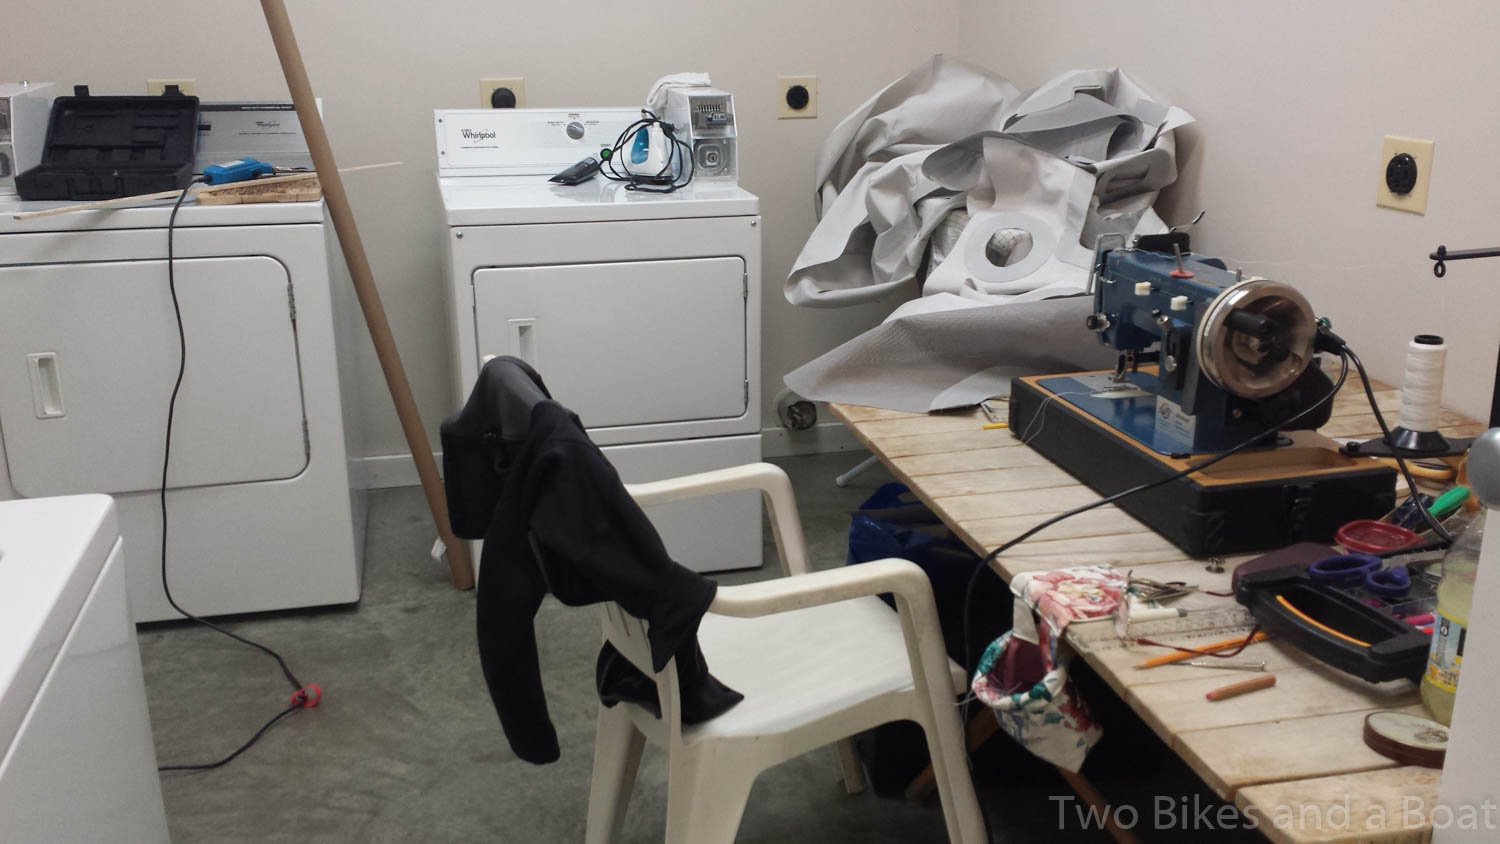
Day 1 : We went to the local pub, Lagoonies, and pulled the dinghy up onto their dock in order to take measurements and mark where the rub rail and all other anti-chafe patches were to go. This was OK for a quick job, but we were clearly in everyone’s way, as they had to climb through our dinghy to get into their own. Then back to the boat for a few hours of cutting out and installing the re-enforcements, plus the drawstring casing around the outer edge. The main salon became my sewing room as it is too windy and frequently rainy here, so working up top was not practical.
img_20161229_122649

img_20161229_145032
Day 2: We went ashore on a little island this time, since we had to spend some time doing the final fitting. The patches were all good, but with the drawstring in place, I could see I needed to do some adjusting to the cone ends, where I had too much fabric. I also consulted with the Captain on the strategic placement of pockets. Now that we use the dinghy every day, we needed to organize it, to make it more practical. Instead of the dinghy essentials rolling around in a puddle on the floor, constantly underfoot, I made pockets for all the stuff. A bow-shaped pocket makes good use of the dead space at the front to store the anchor, the lines, safety equipment and life jackets, while the four pockets along the sides take the nav lights, engine oil, boarding ladder, and our ashore footwear. They were made with leftover phifertex from the cones. I love that stuff, it literally sheds water. A couple more hours sewing that together, and the chaps were ready to install.
Day 3: We again appropriated someone’s dock to haul the dinghy up out of the water – it appeared not to be in use, but we did get a visit from a nearby marina. They graciously allowed us to continue. We installed the chaps, added a few more snaps in strategic locations to snug things up, then we got to take our tender home, all dressed in her new finery!
img_20170102_100256

Finally, mission accomplished…here she is, our Big Fender, the cutest little dinghy on the dock!

img_20170102_123404

Here are some stats, in case you are thinking of taking on a similar project:
Materials cost to build chaps for a 9ft dinghy: about $400US
Time spent on the project: 30 hours on the hard, plus 10 hours while at anchor, for a total of 40 hours
That’s an entire work-week, so remember to take that into consideration when someone quotes you what seems like an outrageous price to do them for you, it’s a bargain, unless of course you love a good challenge and DIY sewing projects, which I do!

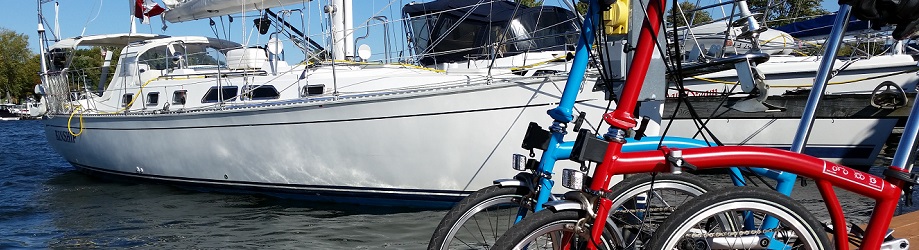
This last pic has nothing to do with the chaps, but everything to do with the dinghy…we have one of the smallest and slowest dinghies in the lagoon here on St. Martin, so with all the jet-skis, tour boats and other dinghies whizzing by us, it is always a wet ride. The front pocket now holds my trusty Canada Day rain poncho, which I found in the bottom of our hiking back-pack that came from home, and is perfect for keeping me dry as we poke along in the lagoon, in our pretty little Avon Rover with its little 5 horse-power engine.

img_20170102_105740

Dinghy Chaps, part 1

As Matthew pointed out in his July post A Different Family Car, a dinghy is an important link to the shore and to other boats.  We will use it for shopping, social calls and sightseeing ashore.  Much as you use your family car on land, the dinghy has a very similar function when out cruising.  And, just like home, reliability is really important as this might be your only way to get back to the big boat. So to protect it, our dinghy really should have some chaps. Dinghy Chaps, you say? What the heck are those ? They are a fabric cover to protect the inflatable tubes from harmful UV rays and chafe from lines and docks. OK, well I do love a good sewing project, so I offered to make them. But I really had no idea what I was taking on! In fact, I am beginning to wonder if it actually even qualifies as a sewing project, since I am three days into it, and haven’t taken the sewing machine out of its case yet.

Kinship is in the yard at Zahniser’s Marina for a bottom paint job and a pre-departure checkup and I am slaving away in a heat wave, on my biggest project ever. I decided it needs to be recorded here for posterity (and to remind myself never to try this again 🙂

Day 1 Patterning:  It took me about 5 hours to make and fit the pattern. I used sheets of clear plastic, laid it over the dinghy in sections, then marked where the seams, hems, and cut-outs should go. This was hard work, on hands and knees, crawling about inside and out of the dinghy, on a hot patio. But I was glad for all the space, and the ability to have the dinghy up on dry land while working on it. This would have been twice as hard to do on board.

img_20161021_144636

Day 2 Cutting: I needed to lay out 8 metres of light grey sunbrella fabric, so I needed a big flat clean surface.The marina let me use their upstairs balcony with a canopy over it. I just had to move a few patio tables and chairs and voila! Instant cutting board. Again, on my hands and knees, using the hot-knife to cut the fabric so the edges would not fray, I spent 4 or 5 hours on this hot, smelly job. Fortunately my patterning was good, so very few adjustments were required when I fit the pieces back on the dinghy.

20161021_142418

Day 3 Making the vinyl anti-chafing patches: This was the biggest part of the job yet! 8 full hours measuring, marking, cutting out, fitting, starting over…but at least I could work in the comfort of the air-conditioned laundry room, on a good size table. I had 19 cut-outs to do, and was almost done when I ran out of masking tape (essential for holding the patches in place once they are cut and fitted), and my kitchen scissors had gone so dull from cutting the vinyl that they needed to be replaced in order to cut the remaining patches. A trip to the hardware store is required.

20161020_105028

Day 4 more patches: 2 more hours of cutting and fitting patches. I must be getting tired, because the starboard side needed more fitting than the port side had. I had to take a break from the project for the boat launching, but tomorrow I will finally get to start sewing, in my cockpit sewing-room! Can’t wait!

Day 5 Sewing (finally): Like with house-painting, the longest part is the prep work. In 5 hours I had 90% of the patches sewn into place. I started out working in my cockpit, but soon found that the wind and weather, along with the bulkiness of the fabric made it much more difficult to work aboard, so I went back to the laundry room. Fortunately most people using the room for its intended purpose were curious enough about what I was doing not to object too much at my apparent hostile take-over of the facility!

2016-10-23-16-12-00

Day 6: Sewing and fitting: Once the patches were all on, I sewed the pieces together and conducted the final fitting. Only one small adjustment to the first two patches I had done, and all was well. After a total of 30 hours, I really felt like I had something to show for my efforts.

2016-10-23-16-07-27

The project is not finished yet. I estimate another 10 hours or so to finish it – add a rub-rail, a few more anti-chafe patches, hems, casings and snaps to hold the whole thing onto the boat – but for now it’s put away. Time to get out on the water. Kinship passed her pre-departure check-up, and we are heading for Portsmouth VA to meet up with the Rally next week!

Live-aboard version of sewing room

REally nice view in my new temporary sewing room

Really nice view in my new temporary sewing room

One thing I like is that a boat provides an endless variety of sewing projects. Unfortunately it doesn’t provide much space to do them in, so this week, while we are docked at Loyalist Cove Marina, I am taking advantage of their community room, and have set it up as my new, temporary sewing room. It has lots more space to work in. Having tried setting up in the cockpit aboard Kinship, I knew that worked only for small mending jobs. I really needed some table space, and the ability to leave everything set up for a few days. Their  “Crow’s Nest”  is just perfect.

dsc00474 dsc00481

I have finally been able to get to those bigger canvass projects, like adding a window to the bimini, and finishing up the new companionway cover. Still too hot to need it yet, but I am sure it will be appreciated once autumn arrives on the Erie Canal and through New York.

Watch for our departure blog, coming within days!!!