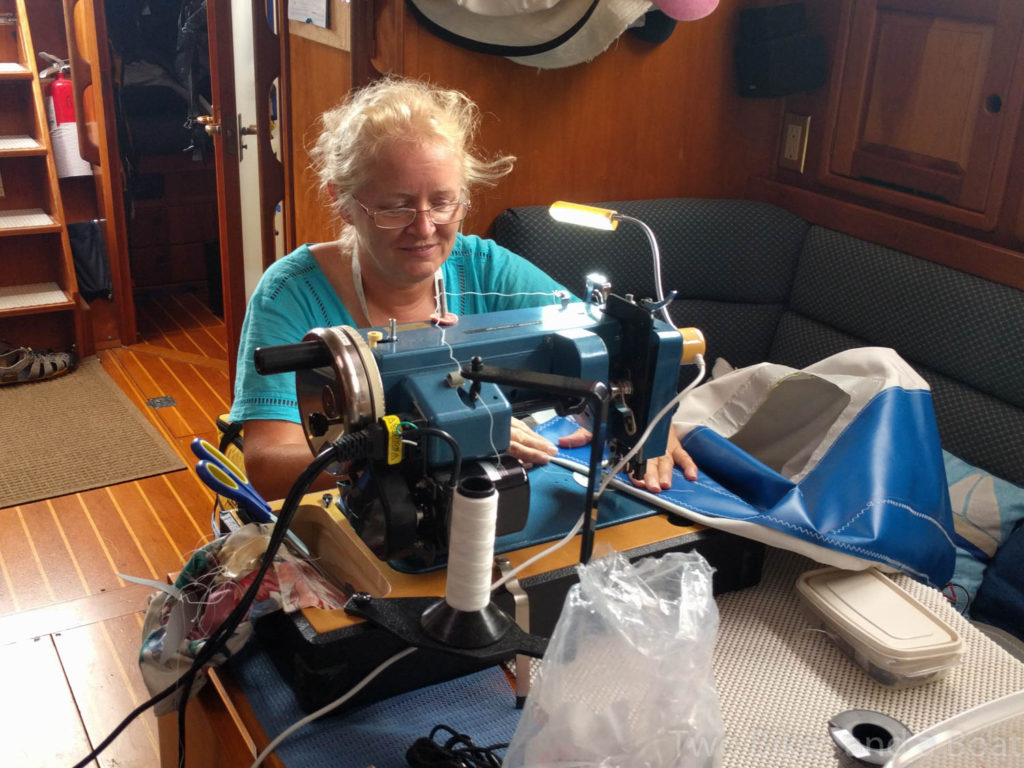
Last I reported, back in October, I had the dinghy chaps about three quarters done when it was time to set sail for the sunny south. We arrived in the Caribbean six week ago, and have taken time to relax and acclimatize, but I finally got back to my dinghy chaps project last week. It’s a lot more challenging working on board, with the dinghy in question needed in the water at all times as our primary mode of transportation to shore. And I find I can only work about 3 or 4 hours a day in this heat. But here is how we managed it…
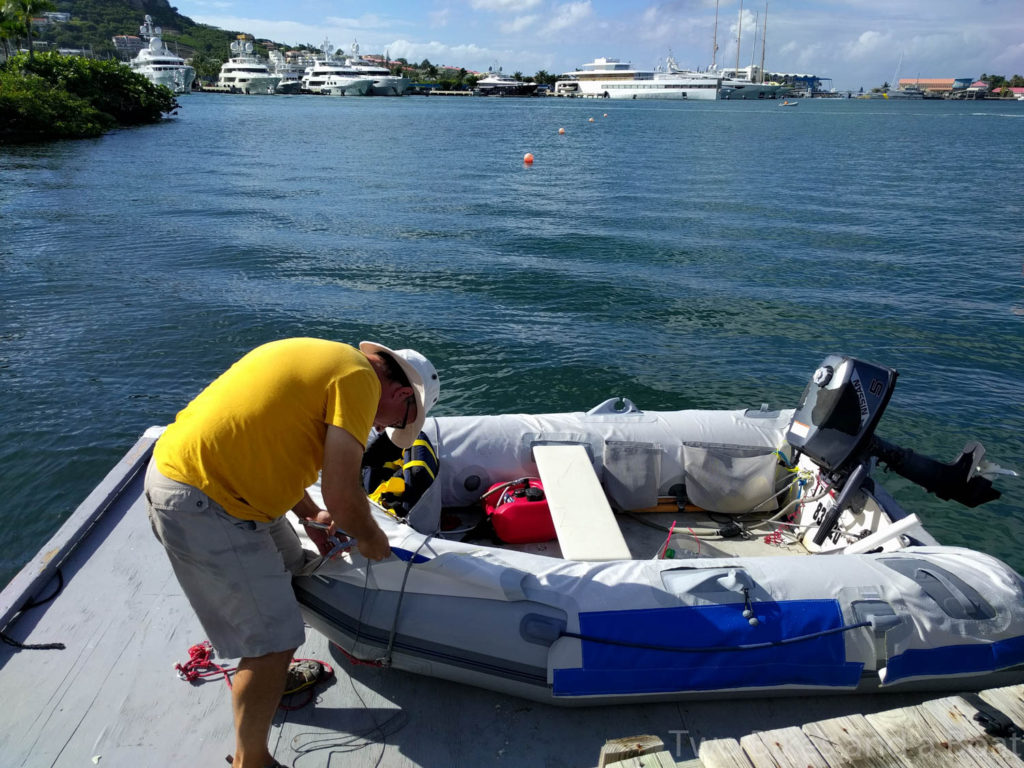
Day 1 : We went to the local pub, Lagoonies, and pulled the dinghy up onto their dock in order to take measurements and mark where the rub rail and all other anti-chafe patches were to go. This was OK for a quick job, but we were clearly in everyone’s way, as they had to climb through our dinghy to get into their own. Then back to the boat for a few hours of cutting out and installing the re-enforcements, plus the drawstring casing around the outer edge. The main salon became my sewing room as it is too windy and frequently rainy here, so working up top was not practical.
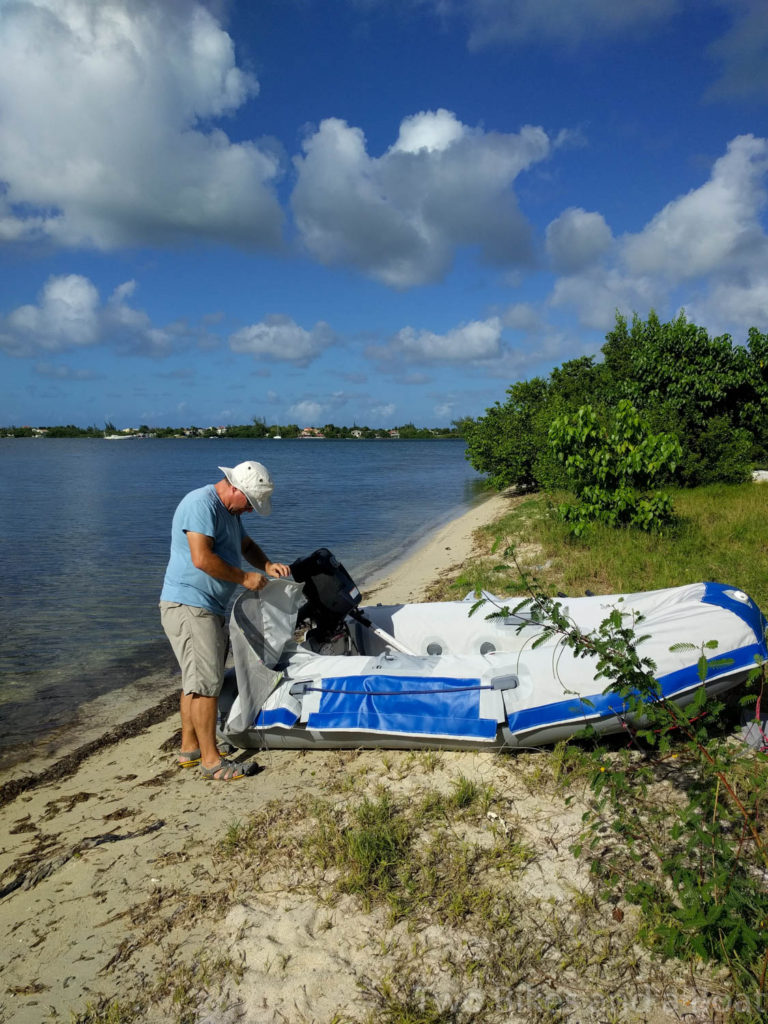
Day 2: We went ashore on a little island this time, since we had to spend some time doing the final fitting. The patches were all good, but with the drawstring in place, I could see I needed to do some adjusting to the cone ends, where I had too much fabric. I also consulted with the Captain on the strategic placement of pockets. Now that we use the dinghy every day, we needed to organize it, to make it more practical. Instead of the dinghy essentials rolling around in a puddle on the floor, constantly underfoot, I made pockets for all the stuff. A bow-shaped pocket makes good use of the dead space at the front to store the anchor, the lines, safety equipment and life jackets, while the four pockets along the sides take the nav lights, engine oil, boarding ladder, and our ashore footwear. They were made with leftover phifertex from the cones. I love that stuff, it literally sheds water. A couple more hours sewing that together, and the chaps were ready to install.
Day 3: We again appropriated someone’s dock to haul the dinghy up out of the water – it appeared not to be in use, but we did get a visit from a nearby marina. They graciously allowed us to continue. We installed the chaps, added a few more snaps in strategic locations to snug things up, then we got to take our tender home, all dressed in her new finery!
Finally, mission accomplished…here she is, our Big Fender, the cutest little dinghy on the dock!

Here are some stats, in case you are thinking of taking on a similar project:
Materials cost to build chaps for a 9ft dinghy: about $400US
Time spent on the project: 30 hours on the hard, plus 10 hours while at anchor, for a total of 40 hours
That’s an entire work-week, so remember to take that into consideration when someone quotes you what seems like an outrageous price to do them for you, it’s a bargain, unless of course you love a good challenge and DIY sewing projects, which I do!
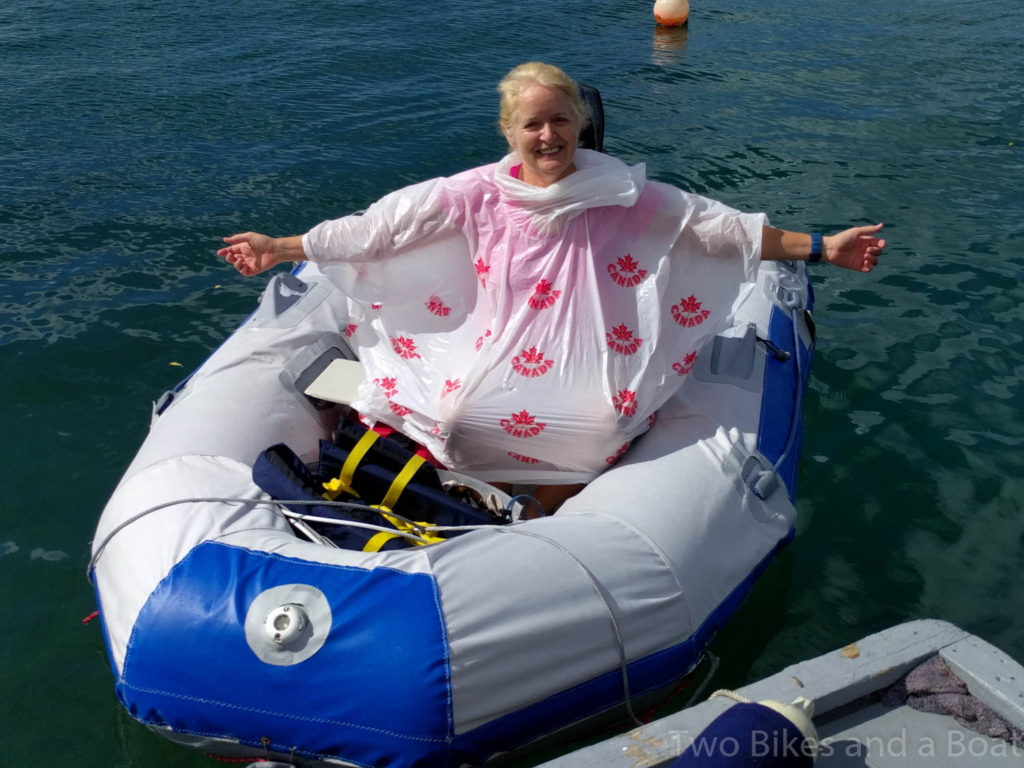
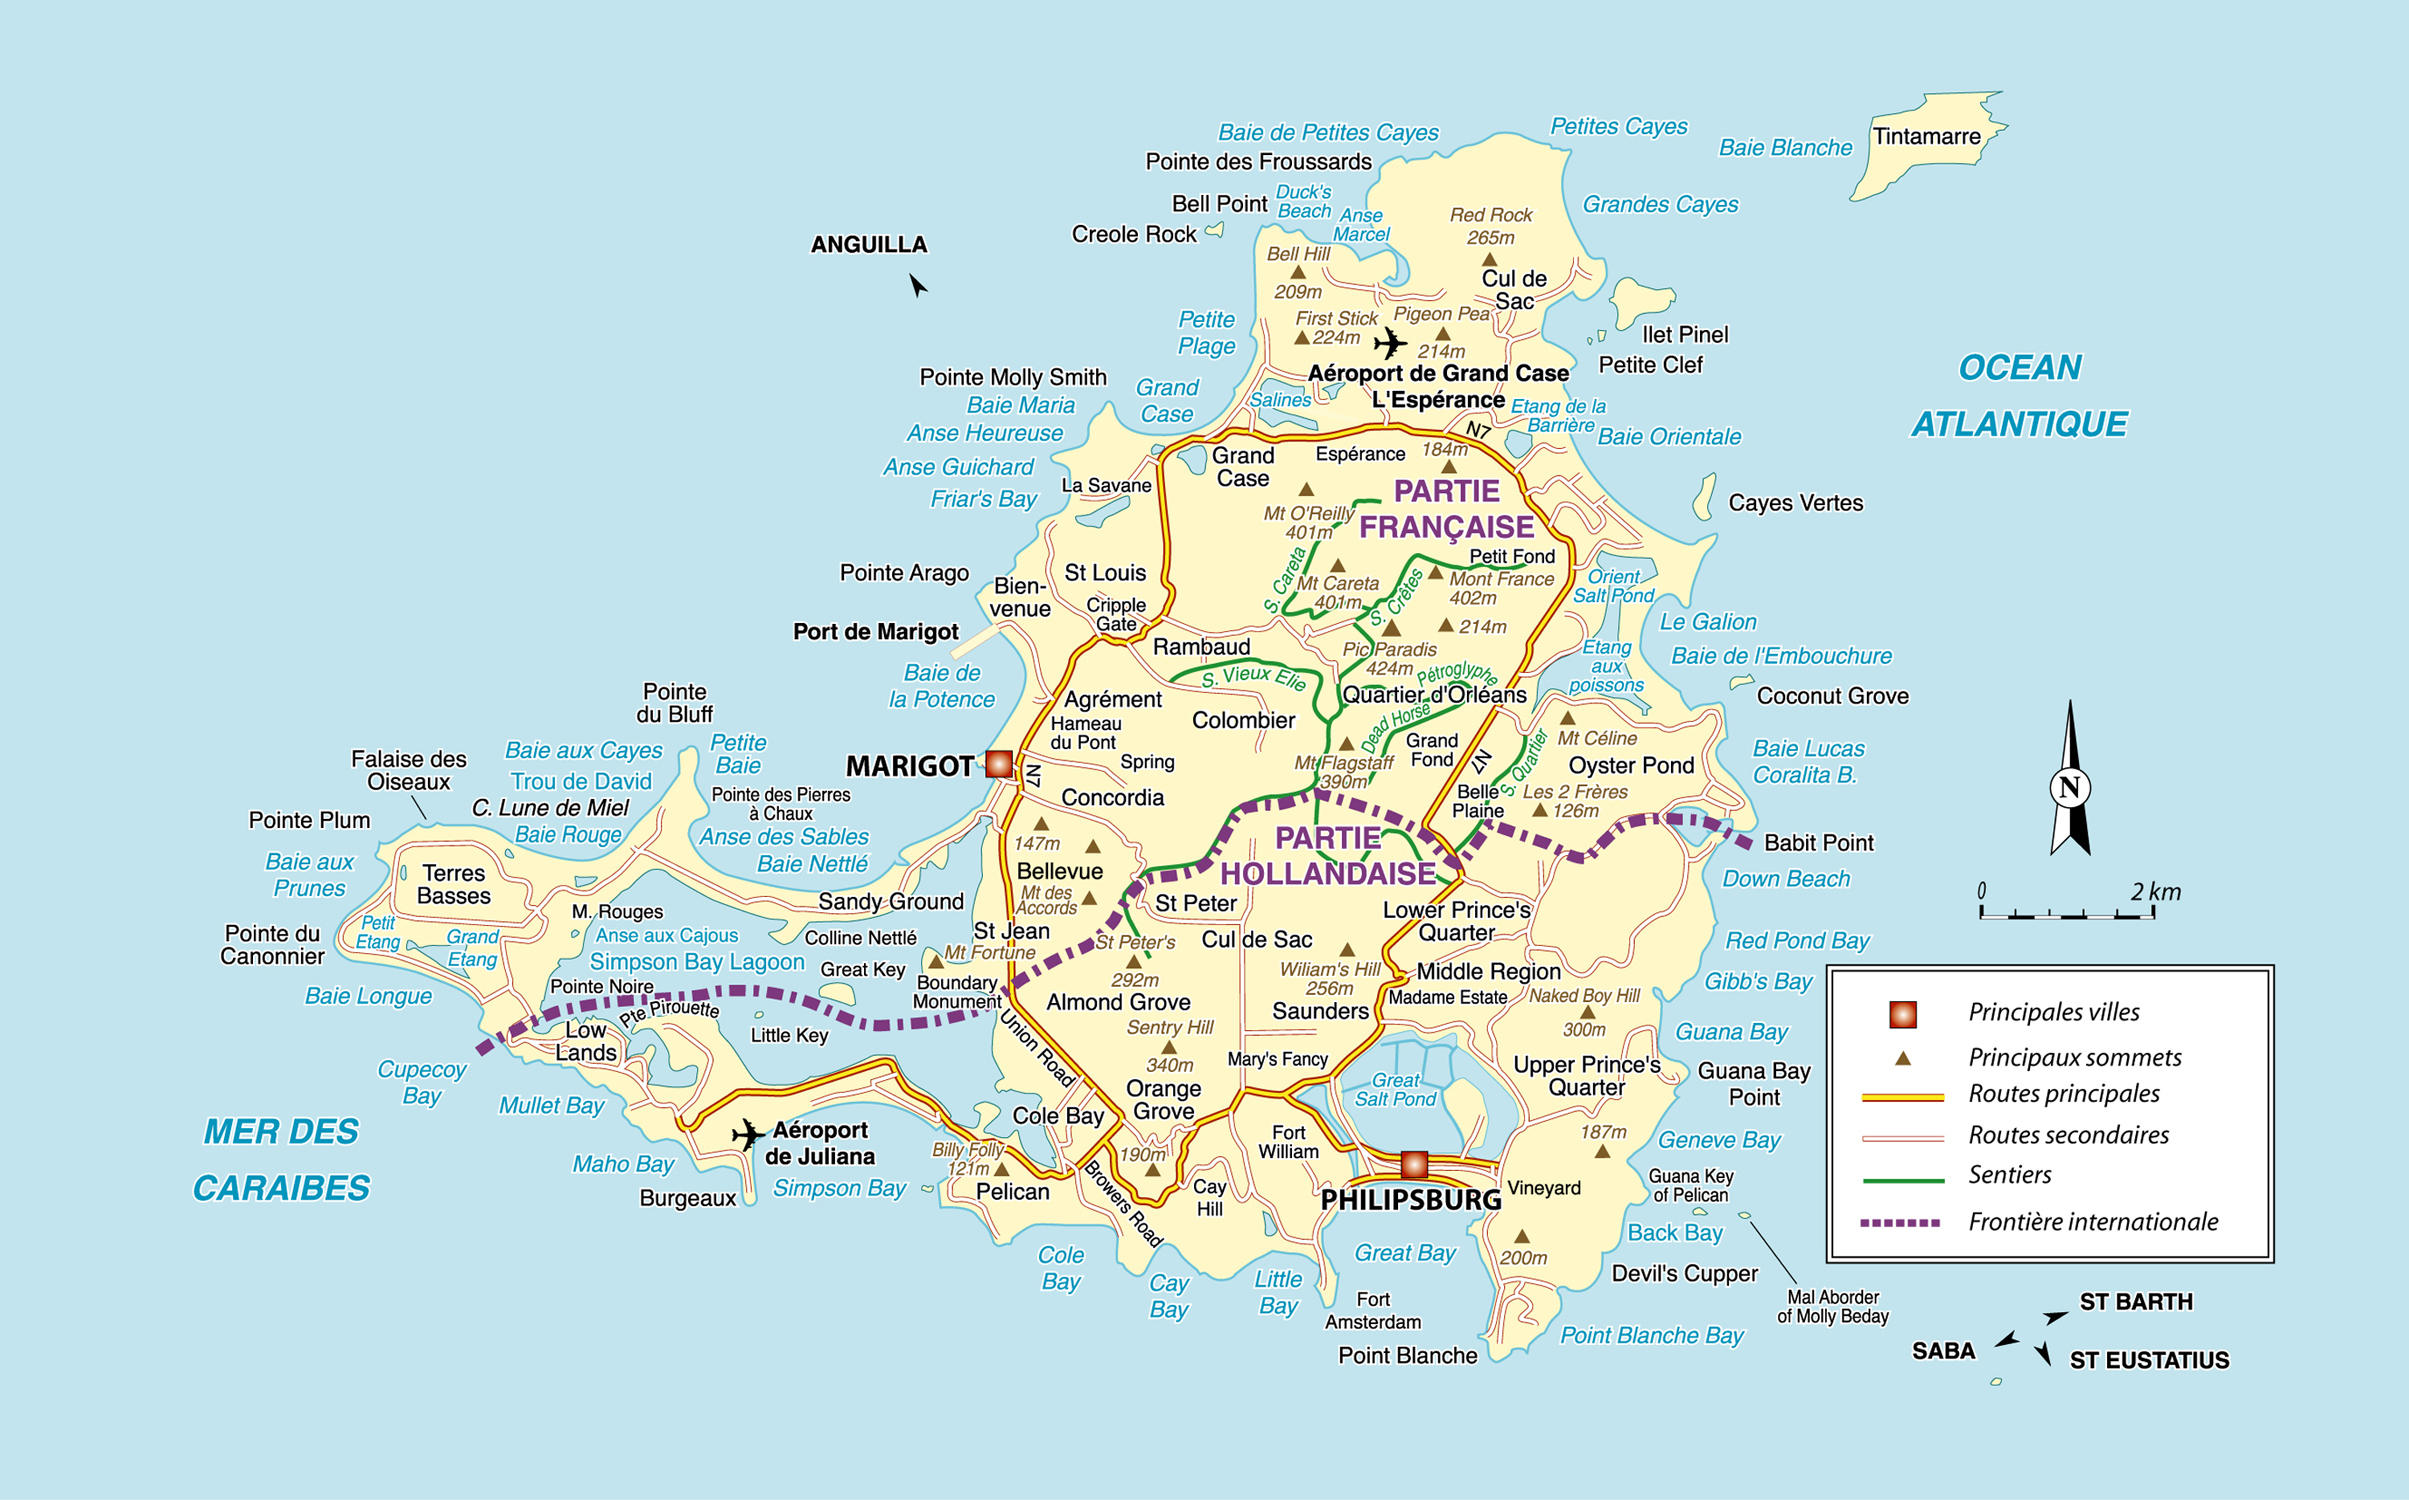
This last pic has nothing to do with the chaps, but everything to do with the dinghy…we have one of the smallest and slowest dinghies in the lagoon here on St. Martin, so with all the jet-skis, tour boats and other dinghies whizzing by us, it is always a wet ride. The front pocket now holds my trusty Canada Day rain poncho, which I found in the bottom of our hiking back-pack that came from home, and is perfect for keeping me dry as we poke along in the lagoon, in our pretty little Avon Rover with its little 5 horse-power engine.
